
Based on owners’ complaints, we came to know about many problems with the 2004 Jeep Liberty.
Among them, some common problems are misfires due to intake valve locks, power window motor failure, sky slider sunroof not opening, and not starting due to faulty wireless control.
Besides them, there are so many other problems that owners reported repeatedly.
Here are some common problems associated with the 2004 Jeep Liberty, along with their symptoms, reasons, and potential risks of keeping these issues unresolved.
Finally, I will discuss the solution to each problem.
7 Most Common 2004 Jeep Liberty Problems – Reasons with Solutions
These 7 problems are taken from driver’s complaints about the 2004 Jeep Liberty. So, you may find them common. Let’s know first the symptoms.
| Problem | Symptoms |
| Check Engine Light/Misfire Due to Intake Valve Locks/Valves | The check engine light may illuminate, and you might experience engine misfires, rough idling, reduced power, and poor fuel efficiency. |
| Power Window Motor Fail Due to Regulator Assembly | One or more power windows may not operate, or they may get stuck in a partially open or closed position. |
| The Sky Slider Sunroof Not Open | The Sky Slider sunroof may become stuck or fail to open. |
| Engine Does not Start Due to Wireless Control Module Fault | The engine may not start, and you may encounter electrical system problems. |
| Front/Rear Differential Pinion Seal/Transfer Case Leaks | You may notice oil or fluid leaks from the front or rear differential, or transfer case areas. |
| Noisy Power Door Locks | The power door locks may produce excessive noise during operation. |
| Recall to Replace Lower Ball Joints Due to Moisture Damage | In the absence of symptoms, this is a proactive recall to address a potential safety issue. |
Here are the reasons and possible solutions for each issue.
Check Engine Light/Misfire Due to Intake Valve Locks/Valves
- Reasons: This issue could be caused by wear or damage to the intake valve locks or valves.
- Risk: If left unresolved, it can lead to decreased engine performance, increased emissions, and potential damage to other engine components.
- Solution:
- Step 1: Check Valve Operation: Remove the valve cover to inspect the valve lifters and rocker arms. Look for any signs of wear or damage. Verify that the valve clearance is within the manufacturer’s specifications. Adjust if necessary.
- Step 2: Clean or Replace Intake Valve Locks/Valves: If needed, remove the intake manifold to access the intake valves. Use a suitable intake valve cleaner to remove carbon deposits on the valves. Follow the product instructions carefully.
Inspect the intake valve locks for wear or damage. Replace any faulty locks. If the valves are damaged or cannot be cleaned, consider replacing them with new ones.
- Step 6: Reassembly And Clear DTCs and Test: Put everything back together, ensuring that all components are properly seated and torqued to the manufacturer’s specifications. Use the OBD-II scanner to clear the stored trouble codes. This will reset the check engine light.
Take the vehicle for a test drive to ensure that the misfire issue is resolved. Pay attention to engine performance, and check for the absence of any abnormal symptoms.
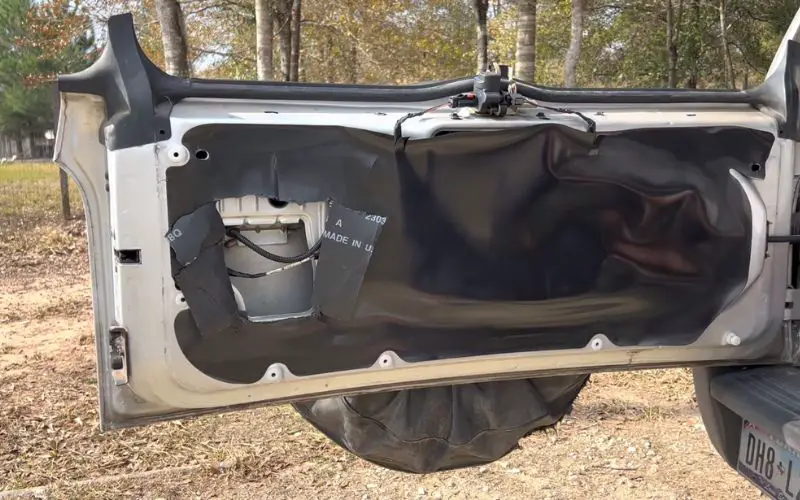
Power Window Motor Fail Due to Regulator Assembly
- Reasons: The power window motor can fail due to issues with the regulator assembly, which controls the window’s movement.
- Risk: Inability to operate windows can be inconvenient, especially in emergencies or extreme weather conditions. It can also affect your vehicle’s security.
- Solution:
- Step 1: Obtain Replacement Parts: Verify the make and model of your vehicle to ensure the replacement regulator assembly is compatible. Check for specific model years or design variations. Order the replacement regulator assembly from a reputable auto parts supplier or dealership. Ensure the package includes all necessary components.
- Step 2: Remove Old Regulator: Disconnect the vehicle’s battery to ensure safety during the repair. This prevents accidental electrical issues while working on the power window. Locate and remove screws and clips securing the interior door panel.
Gently pry the panel away, exposing the internal components. Identify and detach the old regulator assembly. Typically, this involves removing bolts securing the assembly to the door frame.
- Step 3: Install New Regulator: Align the new regulator assembly in the correct position. Secure the assembly by tightening bolts according to the manufacturer’s specifications. Carefully reattach the window to the new regulator assembly. Ensure proper alignment to avoid future issues.
- Step 4: Test Operation: Reconnect the vehicle’s battery to restore power to the window. Double-check all connections to prevent electrical issues. Operate the power window to verify smooth and correct movement.
Check for any unusual noises or resistance. Reinstall the interior door panel, securing it with screws and clips. Perform a final test to ensure the power window operates correctly in all directions.
The Sky Slider Sunroof Not Open
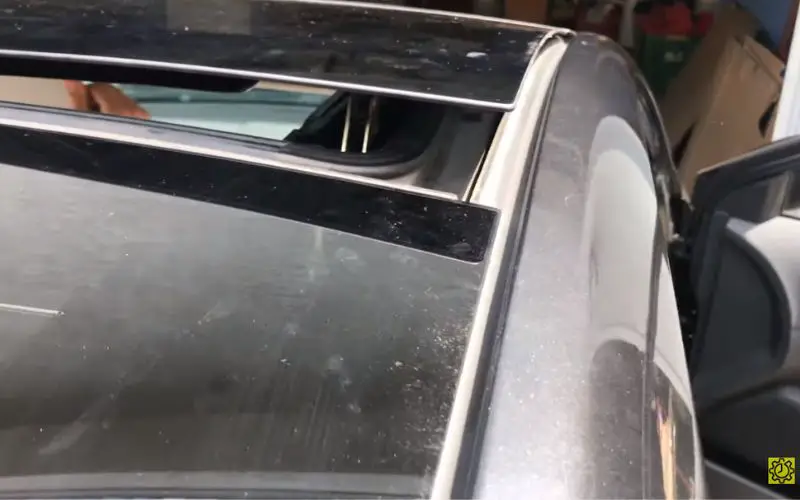
- Reasons: Various issues with the sunroof’s mechanism or components can cause this problem.
- Risk: A malfunctioning sunroof can limit ventilation and natural light in the vehicle. It may also be an inconvenience if you enjoy using the sunroof.
- Solution:
- Step 1: Check for Obstructions: Inspect the sunroof’s tracks and surrounding areas for debris or objects that may hinder movement.
- Step 2: Verify Power Supply: Ensure the vehicle’s battery is functional, and there’s no electrical issue affecting the sunroof.
- Step 3: Reset the Sunroof: Perform a manual reset by holding the sunroof switch in the open position for several seconds, then releasing and pressing it again.
- Step 4: Lubricate Moving Parts: Apply a silicone-based lubricant to the sunroof’s moving parts, such as the tracks and cables, to facilitate smoother operation.
- Step 5: Professional Inspection: If the issue persists, consult a professional mechanic or the vehicle manufacturer’s service center for a thorough inspection and potential repairs.
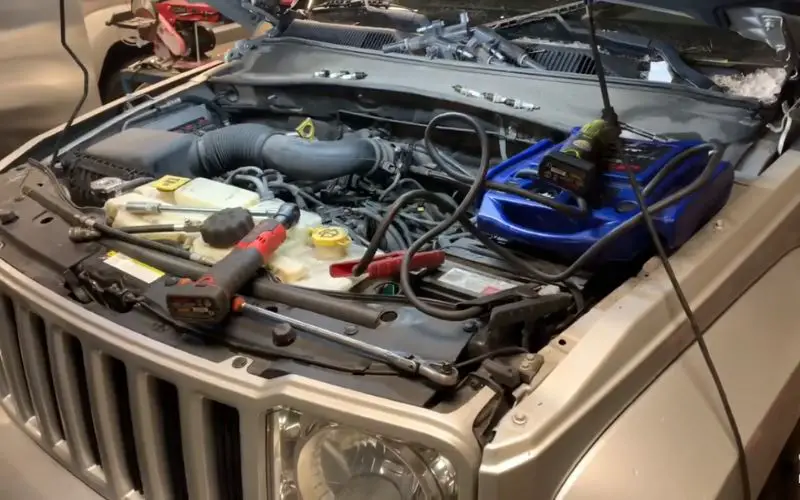
Engine Does not Start Due to Wireless Control Module Fault
- Reasons: A fault in the wireless control module can disrupt communication between vehicle systems and prevent the engine from starting.
- Risk: In addition to the inconvenience of not being able to start your vehicle, unresolved electrical faults can lead to unexpected breakdowns and safety issues.
- Solution:
- Step 1: Diagnosis: Use diagnostic tools to identify specific fault codes related to the wireless control module.
- Step 2: Battery Check: Ensure the vehicle’s battery is fully charged and functioning correctly.
- Step 3: Inspect Wiring Connections: Examine wiring connections to the wireless control module for loose or damaged wires. Repair or replace as needed.
- Step 4: Reset or Reprogram: Attempt to reset the wireless control module by disconnecting the vehicle’s battery for a few minutes. If possible, reprogram the module according to manufacturer guidelines.
- Step 5: Professional Assistance: If the issue persists, seek assistance from a qualified mechanic or the vehicle manufacturer’s service center for in-depth diagnostics, potential module replacement, or software updates.
Front/Rear Differential Pinion Seal/Transfer Case Leaks
- Reasons: Seals and gaskets can wear out or develop leaks over time, leading to the loss of lubricating fluids.
- Risk: Ignoring these leaks can result in differential or transfer case damage, reduced drivability, and potential safety hazards if the vehicle’s handling is compromised.
- Solution:
- Step 1: Identify the Leak: Locate the source of the leak by inspecting the front and rear differentials, as well as the transfer case.
- Step 2: Raise the Vehicle: Use a jack to lift the vehicle and secure it on jack stands, providing access to the undercarriage.
- Step 3: Drain Fluids: Drain the fluid from the affected components using the appropriate drain plugs or procedures.
- Step 4: Remove and Replace Seals: Carefully remove the old pinion seals from the front and rear differentials and the transfer case. Replace them with new, compatible seals.
- Step 5: Refill Fluids: Refill the differentials and transfer case with the manufacturer-recommended fluid to the correct levels.
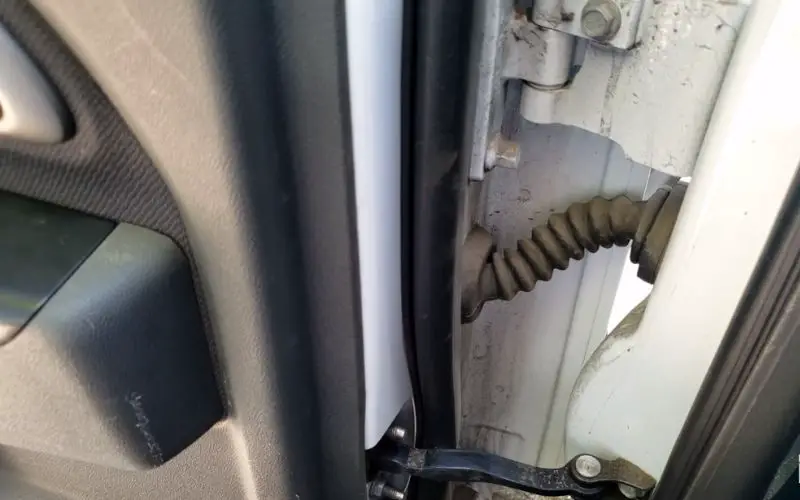
Noisy Power Door Locks
- Reasons: The latch assembly can wear out or become misaligned over time.
- Risk: While this issue is primarily a nuisance due to the noise, it can be irritating and affect the overall driving experience.
- Solution:
- Step 1: Diagnostic Check: Identify the source and type of noise by testing each door lock individually.
- Step 2: Lubrication: Apply a silicone-based lubricant to the lock mechanism, latch, and surrounding components. Focus on hinges, bolts, and moving parts.
- Step 3: Door Panel Removal: If the noise persists, remove the interior door panel to access the lock assembly.
- Step 4: Inspect and Tighten: Inspect the lock assembly for loose or misaligned parts. Tighten any loose bolts, nuts, or screws contributing to the noise.
- Step 5: Replace Worn Parts: If lubrication and tightening do not resolve the issue, consider replacing worn components like the lock actuator, latch, or striker.
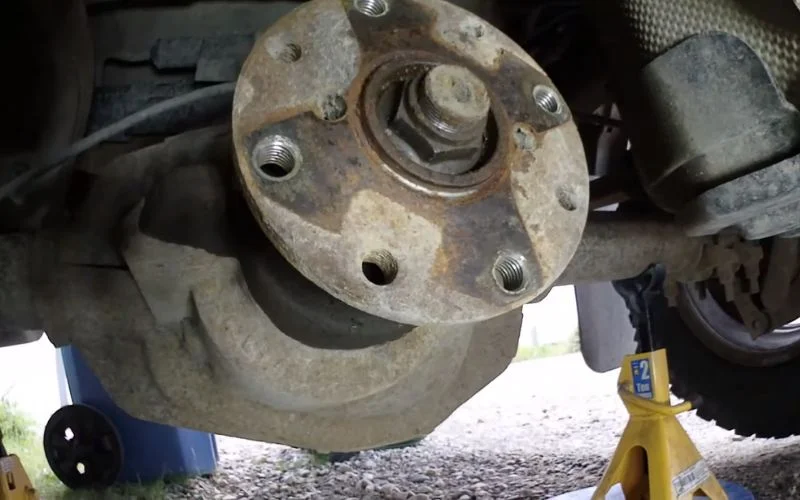
Recall to Replace Lower Ball Joints Due to Moisture Damage
- Reasons: Lower ball joints can be damaged by moisture, leading to potential suspension or steering problems.
- Risk: Failure of the lower ball joints can result in loss of vehicle control, accidents, and safety hazards, which is why recalls are issued to address this issue.
- Solution:
- Step 1: Check for Recall Notice: Confirm that your vehicle is indeed part of the recall by checking for official notices from the vehicle manufacturer or contacting the dealership.
- Step 2: Contact the Dealership: Get in touch with your vehicle’s dealership to schedule an appointment for the recall service. Provide them with your vehicle identification number (VIN) for verification.
- Step 3: Attend Recall Service Appointment: Bring your vehicle to the dealership at the scheduled time. The technicians will replace the lower ball joints as part of the recall service.
Conclusion
It’s important to address these issues promptly, as ignoring them can lead to further damage, safety risks, reduced vehicle performance, and decreased resale value.
Regular maintenance and addressing known recalls can help keep your 2004 Jeep Liberty in good working condition and ensure your safety on the road.
That was all for today about the issues with 2004 Jeep Liberty Common Problems And Solutions.
Leave a Reply